Open Office Impress Tutorial
How to Start the Program
Once you have installed this program, you will see a Quickstarter icon in the system tray, on the lower right corner of your screen. This may vary depending on how you have set up your computer.
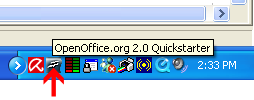
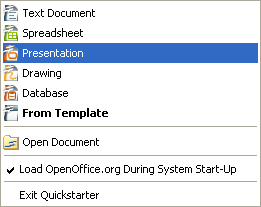
With the cursor positioned over this icon, click on it with the right mouse button to reveal this menu, and select "Presentation"
What You Need to Understand
Since the physical size of the poster is large, be sure not to use compressed images, such as those used on a web site. If you are using images from a digital camera, use the original size. If you are scanning images, scan at minimum 300 dpi. You may not notice much difference in quality on the screen, since it display between 72 and 96 dpi. Bear in mind, the higher the resolution you uuse for your images, the larger the file size of the poster.
Elements (images, drawings and text) are arranged as layers, with the ability to place some elements over others.
What You See When You Open the Program
Check these options as offered during the Presnetation Wizard
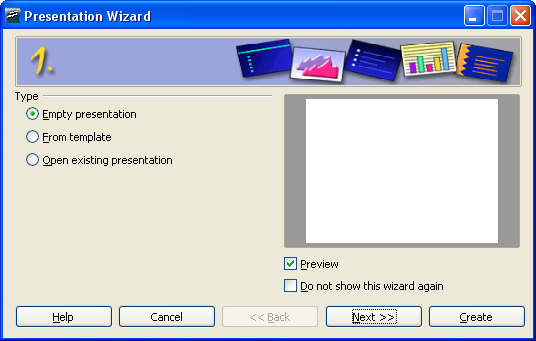
Choose the empty presentation, otherwise it will attempt to use one of the pre-packaged styles, which may not work in a poster. We will create our own style
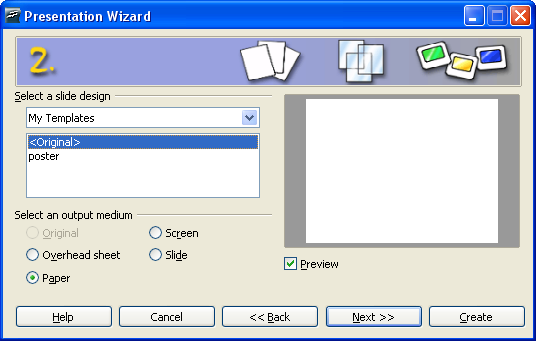
Choose paper as the output medium
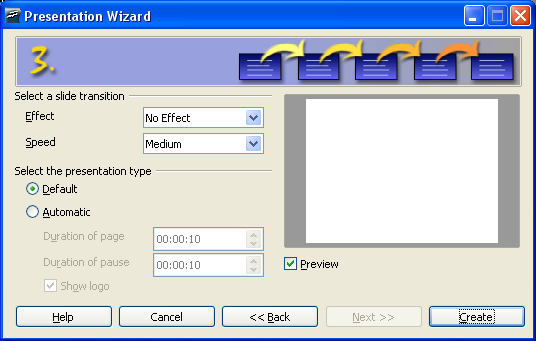
There are no effects needed, as we will be exporting this to a static image file